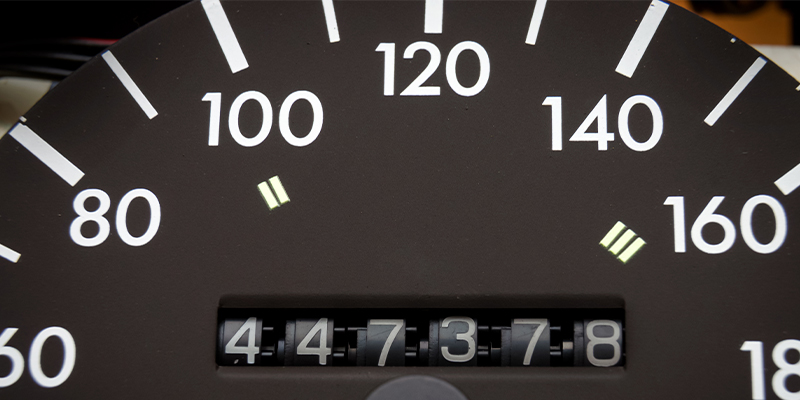

Today’s measuring machines operate with utter precision. Such accuracy has become achievable as production perfects itself through the rise of precision tools that lead to higher quality, greater safety, and longer performance. One resulting improvement we can all appreciate is increased auto life. Whereas with older models of production cars (from the 1960’s) rarely made it past 50k miles, they now easily absorb 100k miles or more. This is due to higher quality parts and greatly improved engine performance thanks to better construction.
None of these refinements are random, of course. Precision manufacturing is a direct byproduct of vastly improved manufacturing processes and measuring machines capable of verifying these processes.
Calibration is the process of ensuring that a machine operates at exact specification and performance levels, such as with semi-conductors used in the production of microprocessor or chips, on which our computers rely. The semiconductor is created by precisely layering and etching material in the form of a wafer, similar in size and shape to a phonograph record, out of which semiconductor chips are taken. Without absolute exactitude, that wafer may contain defects that will create non-functioning or error prone CPUs.
Calibration is typically accomplished via a set of precision gages that are traceable to a national standard such as NIST. The precision gages are measured by the measuring machine and the deviations are evaluated. However, if the machine fails the calibration, vibration may be the cause.
Typically, these calibrations are performed by outside sources serving as certification experts. When a manufacturer is contracted by the government or the military to produce highly valuable parts or piece of equipment, outside certification sources are a common requirement. Such sources confirm exactitude, a guarantee that the manufacturer has met all production standards for perfection.
Leveling and anti-vibration systems for such machines are often multi-sourced. The machine may be set on a separate concrete inertia block then in addition; Isolation pads or air springs may be installed directly under the machine.
The measuring machines themselves are costly — often priced over $100,000. Accordingly, custom isolation can also be pricey, though it’s fractional compared with the value of the machine in question. This is relative, however, as the contracts too are highly valuable, and quality standard have to be met to keep the business.
Bilz can assist manufacturers with Vibration Site Surveys. If your company works with measuring machines that have failed calibration, contact Bilz for support. We can help prove out or rule out floor vibration as the cause of a failed calibration.